
INSPECTION
See Figures 1 through 9
The 1988-97 Corolla engines utilizes a timing belt to drive the camshaft from the crankshaft's turning motion and to maintain proper valve timing. Manufacturers schedule periodic timing belt replacement to assure optimum engine performance, to make sure the motorist is never stranded should the belt break (as the engine will stop instantly) and to prevent the possibility of severe internal engine damage should the belt break.

 |  |
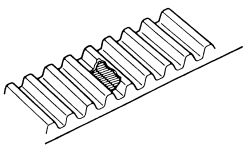
Fig. Fig. 1: Do not bend, twist or turn the timing belt inside out. Never allow oil, water or steam to contact the belt
| |
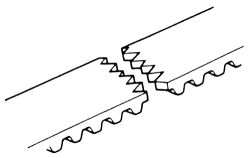
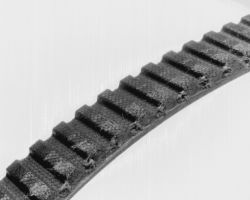
Fig. Fig. 2: Check for premature parting of the belt
| |
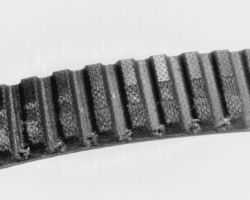
Fig. Fig. 3: Check if the teeth are cracked or damaged
| |
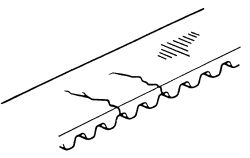
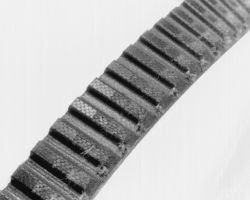
Fig. Fig. 4: Look for noticeable cracks or wear on the belt face
Although these engines are interference motors (it is not listed by the manufacturer as a motor whose valves might contact the pistons if the camshaft was rotated separately from the crankshaft) the first 2 reasons for periodic replacement still apply. Toyota does recommend replacement of the timing belt at 60,000 miles (96,000 km) on vehicles idled for extensive periods of time or for models driven long distances at low speeds.
Whether or not you decide to replace it, you would be wise to check it periodically to make sure it has not become damaged or worn. Generally speaking, a severely damaged belt will show as engine performance would drop dramatically, but a damaged belt (which could give out suddenly) may not give as much warning. In general, any time the engine timing cover(s) is(are) removed you should inspect the belt for premature parting, severe cracks or missing teeth. Also, an access plug is provided in the upper portion of the timing cover so that camshaft timing can be checked without cover removal. If timing is found to be off, cover removal and further belt inspection or replacement is necessary.
| |
Fig. Fig. 5: You may only have damage on one side of the belt; if so, the guide could be the culprit
| |
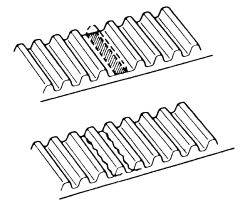
Fig. Fig. 6: Foreign materials can get in between the teeth and cause damage
| |
Fig. Fig. 7: Inspect the timing belt for cracks, fraying, glazing or damage of any kind
| |
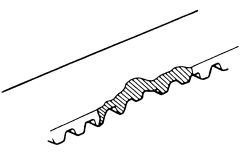
Fig. Fig. 8: Damage on only one side of the timing belt may indicate a faulty guide
| |
Fig. Fig. 9: ALWAYS replace the timing belt at the interval specified by the manufacturer