
REMOVAL & INSTALLATION
See Figures 1 through 14
- Disconnect the negative battery cable. Drain the cooling system.
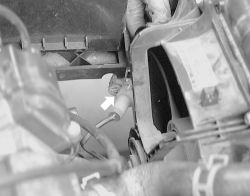
- Disconnect the electric cooling fan wiring.
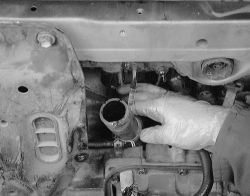
- Unfasten the clamps and remove the radiator upper and lower hoses.
 |  |
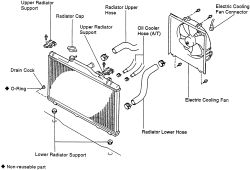
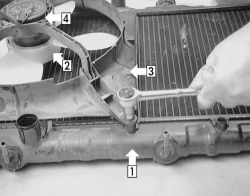
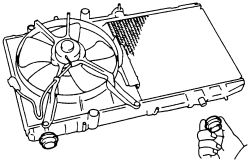
Fig. Fig. 1: Common radiator assembly mounting
| |
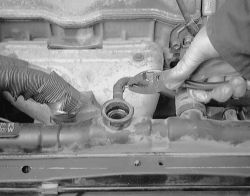
Fig. Fig. 2: Remove the hose clamps from the upper and lower hoses ...
| |
Fig. Fig. 3: ... then slide the hoses off the radiator inlet and outlet ports
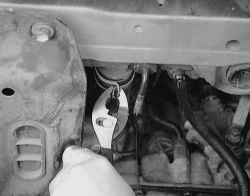
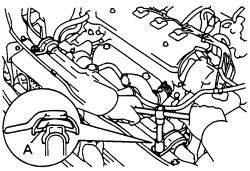
- If equipped with an automatic transaxle, disconnect the oil cooler lines (always use a line wrench).
| |
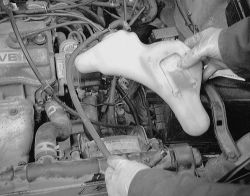
Fig. Fig. 4: On automatic transaxles, disconnect the oil cooler lines from the radiator
- Separate the coolant reservoir hose from the radiator. On some models remove the reservoir if necessary.
| |
Fig. Fig. 5: Remove the upper reservoir hose from the radiator
| |
Fig. Fig. 6: On some models it may be easier if the reservoir is removed
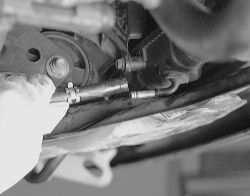
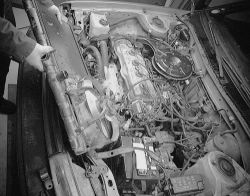
- Remove the 2 bolts and two upper supports. Lift out the radiator with the cooling fan attached. Remove the 2 lower supports from the unit. Use care not to damage the radiator fins or the cooling fan.
| |
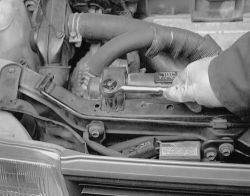
Fig. Fig. 7: Unbolt the radiator support brackets ...
| |
Fig. Fig. 8: ... and remove the brackets from the top of the unit
| |
Fig. Fig. 9: Disconnect the electric fan motor harness
| |
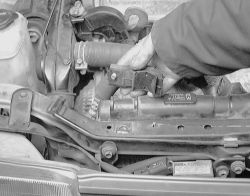
Fig. Fig. 10: Pull the radiator and cooling fan assembly out of the engine compartment
- Once out remove the 4 bolts retraining the electric cooling fan assembly to the radiator.
| |
Fig. Fig. 11: Unbolt the electric cooling fan from the radiator
| |
Fig. Fig. 12: Lift the fan off and install it on the new radiator
- Install the electric cooling fan assembly and secure to the radiator.
- Place the 2 lower radiator supports in position.
| |
Fig. Fig. 13: Place the two lower radiator supports in position on the body of the unit
- Place the radiator/cooling fan assembly in position and install the 2 upper supports with the bolts. Tighten the retaining bolts to 9 ft. lbs. (13 Nm). Make sure that the rubber cushions are not depressed after installation.
| |
Fig. Fig. 14: When tightening the upper supports make sure the cushion is not depressed
- Reconnect the transaxle oil cooler lines, if equipped.
- Connect the coolant reservoir hose and radiator hoses with new hose clamps.
- Reconnect the electrical wiring for the cooling fan. Connect the negative battery cable.
- Fill the cooling system. Start the engine, check for coolant leaks. Top off the cooling system as necessary. Check the automatic transaxle fluid level. fill as needed, with the correct type of fluid. Refer to .