
REMOVAL & INSTALLATION
See Figures 1, 2, 3 and 4
It is advisable to use two people while removing the hood from the vehicle. The hood is lightweight and can be easily damaged by twisting or dropping it.
- Open the hood and support it with the aid of a helper.
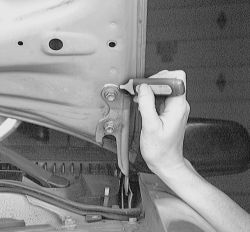
- Use a felt tip marker or grease pencil to mark the hinge location on the hood.
 |  |
Fig. Fig. 1: Make a mark on the hood where the hinge edges meet
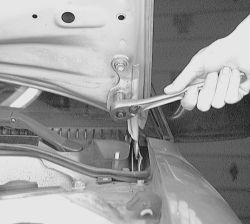
- Remove the bolts attaching the hood to the hood hinges. Have a helper support the rear of the hood as the bolts are removed. Without support, the hood will slide off the hinges and hit the upper bodywork.
| |
Fig. Fig. 2: Loosen the hinge bolts one at a time
| |
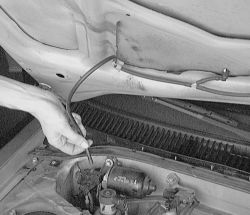
Fig. Fig. 3: Don't forget to disconnect the wiper hose from the hood
- Remove the hood assembly. Place the hood out of the work area, resting on its side on a protected surface.
| |
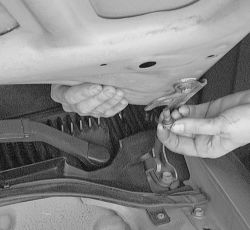
Fig. Fig. 4: While supporting the hood with the aid of a helper, remove the retaining bolts
- Reinstall the hood by carefully placing it in position and installing the hinge bolts finger-tight. Install the hood prop immediately. Move the hood around on the hinges until the matchmarks (felt tip marker) align.
- Adjust the hood. When the hood is in final alignment, tighten the hinge bolts to 10 ft. lbs. (14 Nm).
ALIGNMENT
See Figures 5 and 6
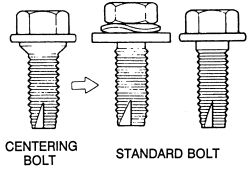
Since the centering bolt, which has a chamfered shoulder, is used as the hood hinge and the lock set bolt, the hood and lock can't be adjusted with it on. To adjust properly, remove the hinge centering bolt and substitute a bolt with a washer for the centering bolt.
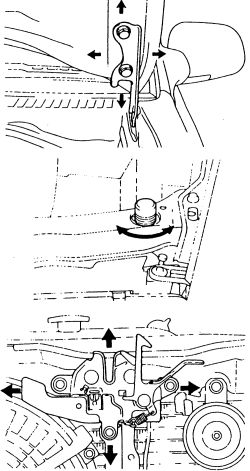
To adjust the hood forward or rearward and left or right directions, adjust the hood by loosening the side hinge bolts and moving the hood to the desired position. Secure the hinge bolts to 10 ft. lbs. (14 Nm) tighten.
| |
Fig. Fig. 5: Centering and standard type bolts
| |
Fig. Fig. 6: Hood adjustment directions
To adjust the front edge of the hood in a vertical direction, turn the cushions as required.
To adjust the hood lock, loosen the lock retainer bolts and move the lock to the desired position. Torque the hood lock mounting bolts to 74 inch lbs. (8 Nm).